Red Bull Salzburg Triumphs Over Mjallby AIF in UEFA Europa League Play-offs
Mjallby AIF’s 3-4-3 at Strandvallen was set up for containment and counter-punching, but over 90 minutes Red Bull Salzburg’s 4-2-3-1 imposed territorial and technical control. The statistical profile is stark: Salzburg held 69% possession, produced 8 shots on goal and 9 off target, and forced 7 blocked efforts, while Mjallby managed just 1 shot on goal and 7 off target with 2 blocked. That volume and field tilt eventually told in the most brutal way, with T. Pettersson’s own goal at 90' separating the sides in a 0-1 away win in the UEFA Europa League Play-offs.
Tactical Setup
Karl Aksum’s 3-4-3 for Mjallby was clearly designed to compress central zones and protect the box. The back three of A. Iqbal, M. Nielsen and T. Pettersson sat narrow, with T. Miettinen and O. Lindberg acting as wide outlets in the nominal midfield line of four alongside J. Gustavsson and V. Gustafson. The front three of J. Bergstrom, A. Samuelsen and J. Kjaer were asked to screen Salzburg’s first phase rather than press high, which contributed to Salzburg’s comfortable build-up but initially limited clean entries through the middle.
In possession, however, Mjallby struggled badly. With only 31% of the ball and no recorded passing breakdown, the pattern was clear: long clearances and early balls into the channels towards Bergstrom and Samuelsen, hoping to win second balls. The wing-backs were often pinned deep by Salzburg’s full-backs and wingers, which left the central midfield duo overloaded. That lack of central circulation meant Mjallby’s 7 shots off goal were mostly low-quality, rushed efforts rather than crafted chances, and the single shot on target underlines how rarely they were able to combine in the final third.
Red Bull Salzburg's Dominance
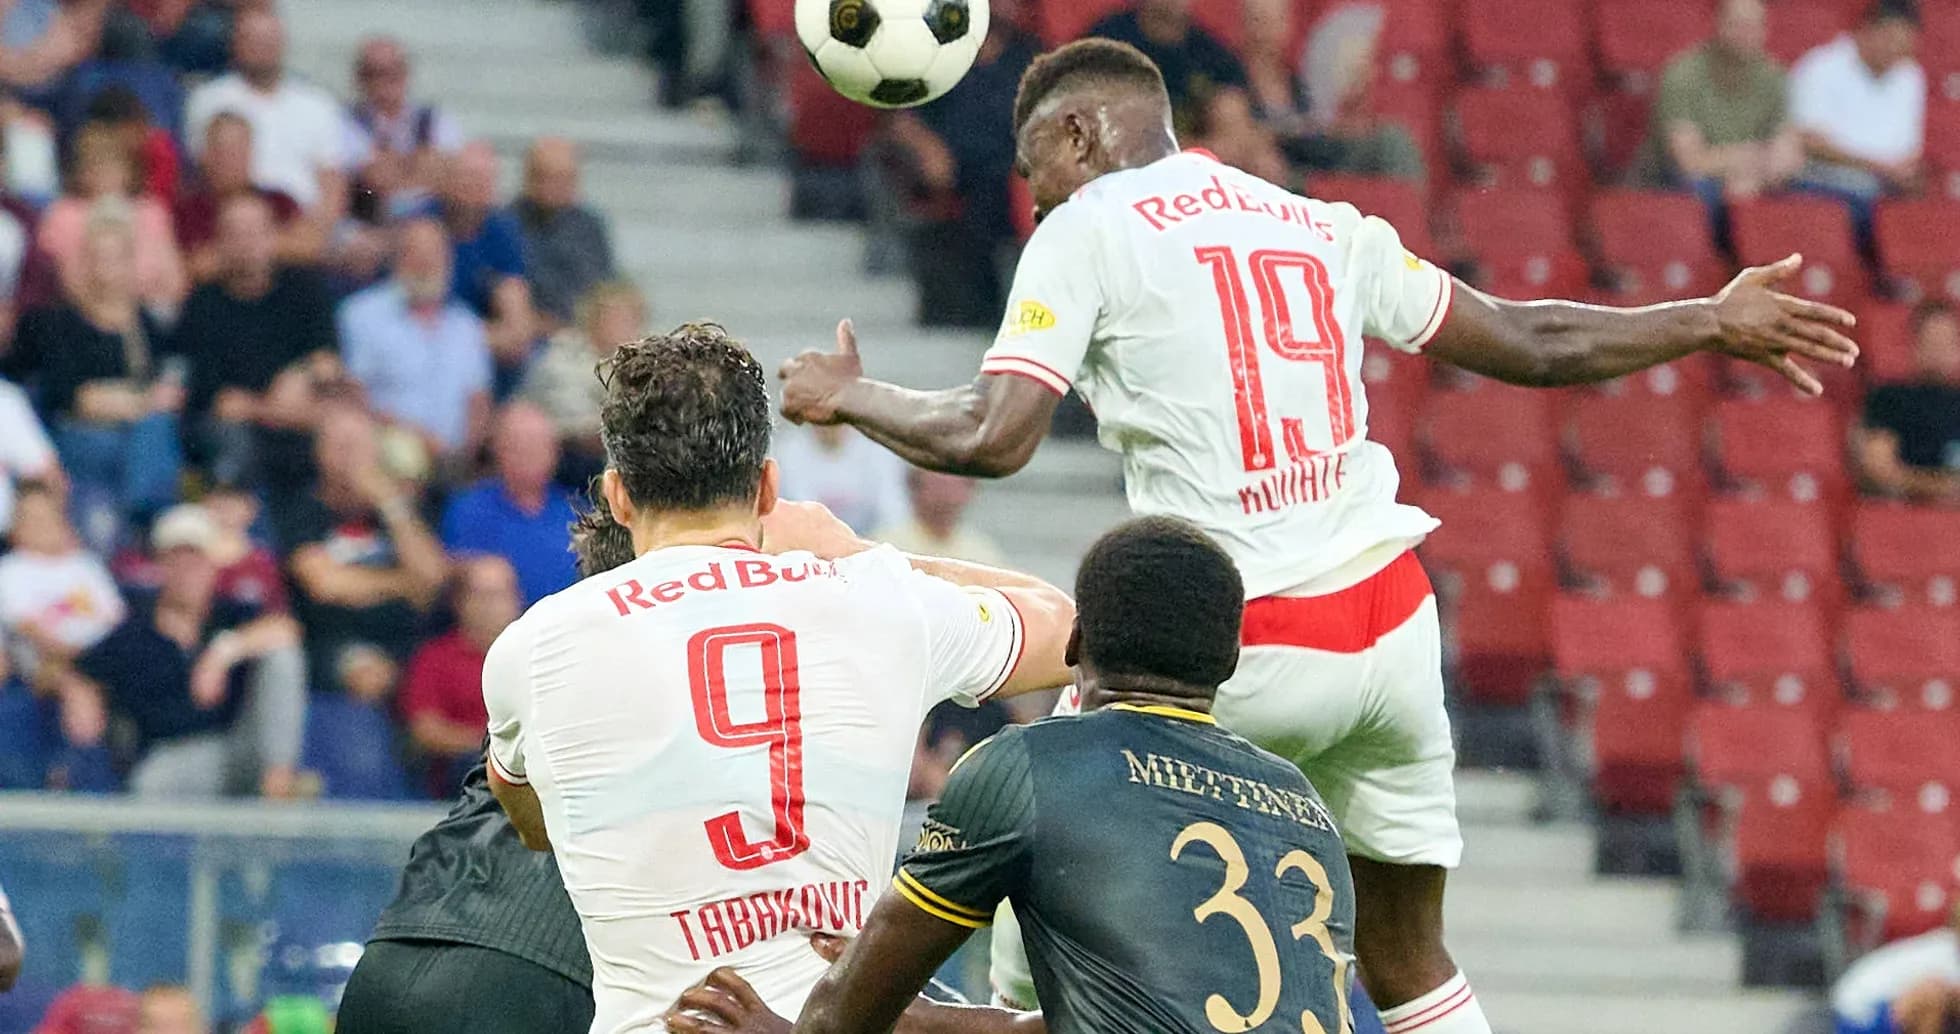
Red Bull Salzburg, under Danny Rohl, used their 4-2-3-1 to stretch and probe. The back four of D. Schmid, V. Zabransky, K. Boma and N. Veratschnig pushed high, keeping Mjallby in their own half and enabling sustained pressure. The double pivot of B. Mazurek and A. Barry controlled tempo, circulating the ball from side to side and dragging Mjallby’s midfield block laterally. Ahead of them, D. Redzic, Y. Vertessen and E. Baidoo operated in tight rotations behind and around central striker H. Tabakovic, creating the kind of layered attacking structure that explains Salzburg’s 8 shots on goal and 7 blocked efforts: they consistently found shooting positions in and around the box, even if the final execution was often repelled.
Substitutions and Tactical Adjustments
The substitutions from both benches were tactically coherent and followed the game’s flow. At 60', Salzburg refreshed their attacking lines: M. Kjaergaard (IN) came on for B. Mazurek (OUT), and K. Konate (IN) came on for Y. Vertessen (OUT). This subtly shifted their shape towards a more aggressive, line-breaking midfield presence in Kjaergaard and added direct running in Konate, further pinning Mjallby back. Aksum responded at 70' by trying to inject energy into his own side: I. Hoffmann (IN) came on for A. Samuelsen (OUT), and V. Granath (IN) came on for O. Lindberg (OUT), moves that signalled a desire to stabilise the flanks and add defensive legs in wide and central areas rather than chase the game with extra attacking risk.
Rohl doubled down on attacking control at 74', introducing S. Kitano (IN) for H. Tabakovic (OUT) and A. Camara (IN) for D. Redzic (OUT). This nudged Salzburg towards a more fluid, mobile front line, less reliant on a fixed reference striker and more on interchanging positions to unsettle Mjallby’s back three. The pressure remained high; Salzburg’s corner count of 6 to Mjallby’s 2 reflects how often they forced the hosts to clear under duress. At 81', U. Tohumcu (IN) replaced E. Baidoo (OUT), offering fresh legs and another technically secure presence in the final third to manage transitions and maintain the press.
Mjallby's Late Changes
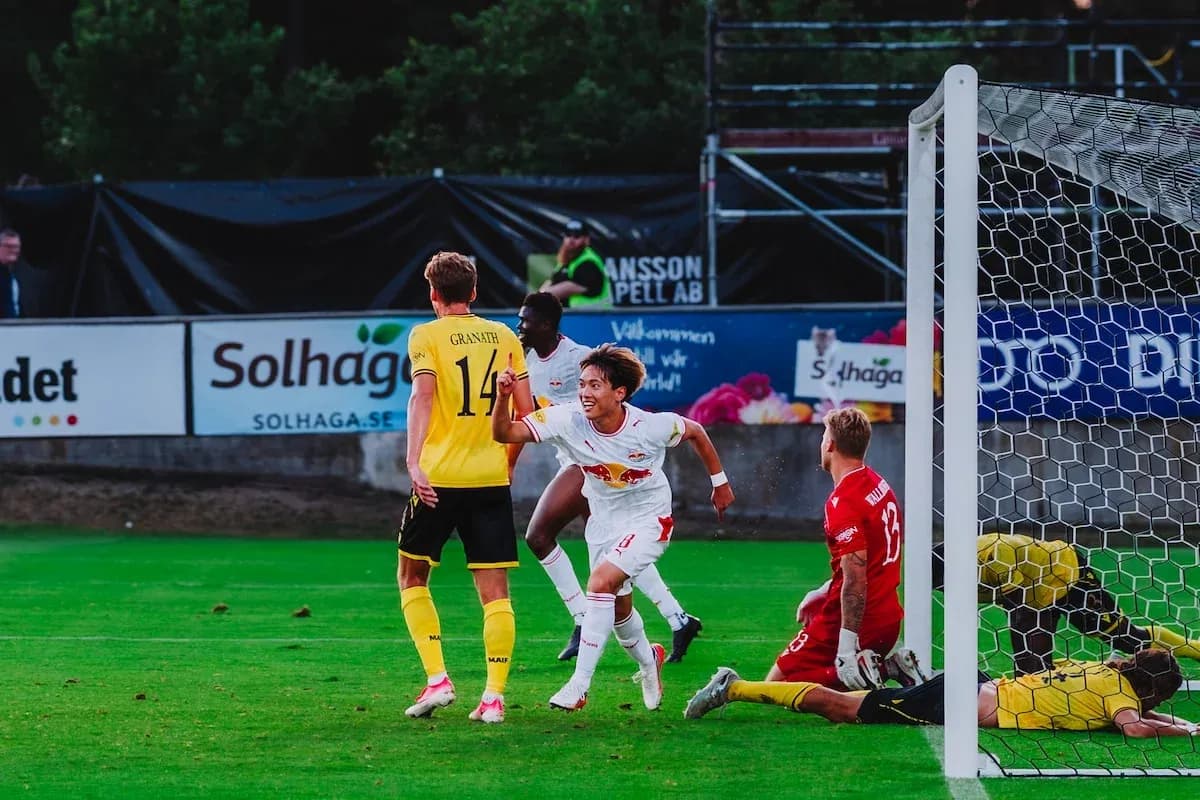
Mjallby’s later changes were more reactive and conservative than transformative. At 84', M. Enggaard (IN) came on for V. Gustafson (OUT), suggesting a need for fresh running and perhaps slightly more vertical passing from midfield. At 90', L. Tidstrand (IN) replaced J. Kjaer (OUT), a late defensive substitution that underscored Mjallby’s acceptance of a draw as a decent result by that stage. However, the structure that had largely held for 90 minutes finally cracked under pressure in the most unfortunate manner: T. Pettersson, part of the central defensive trio, turned the ball into his own net at 90', giving Salzburg the 0-1 lead and final scoreline. As an own goal, it is correctly credited to Red Bull Salzburg.
Discipline and Match Rhythm
Discipline played a minimal but telling role in the match’s rhythm. Mjallby committed 12 fouls to Salzburg’s 7, consistent with the hosts defending for long stretches and being forced into challenges to break up play. The only card of the match came at 58', when Áki Samuelsen (Mjallby AIF) received a yellow card; with no additional information provided, it simply marks a point where Mjallby’s forwards were increasingly drawn into defensive work and late challenges as Salzburg’s dominance grew. Salzburg, by contrast, managed their aggression well, finishing without any yellow or red cards despite their territorial control and pressing.
Conclusion
From a broader tactical lens, the statistical verdict is clear: Salzburg’s 69% possession, superior shot volume and 6-2 advantage in corners reflect a side that dictated tempo and territory. Mjallby’s low attacking output and higher foul count show a team locked into survival mode, relying on structure and work-rate rather than ball progression. The absence of recorded goalkeeper saves and xG metrics prevents a deeper quantitative assessment of chance quality, but the distribution of shots and possession strongly implies that Salzburg’s win, even via an own goal, was a logical outcome of their sustained pressure and superior control of the match’s key zones.